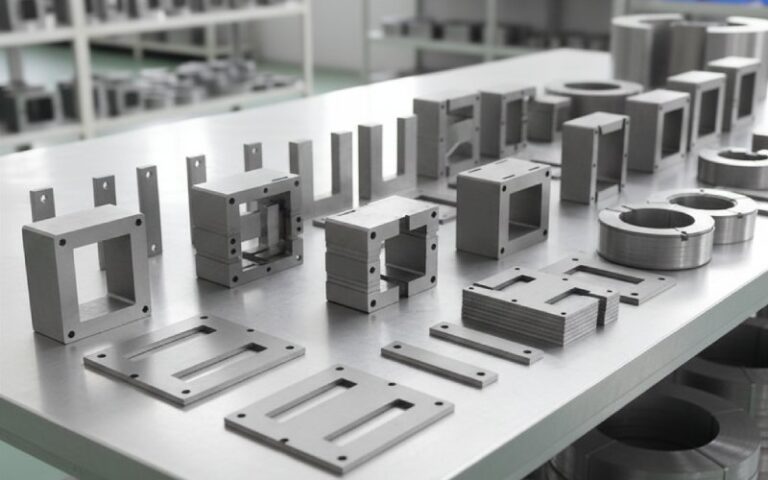
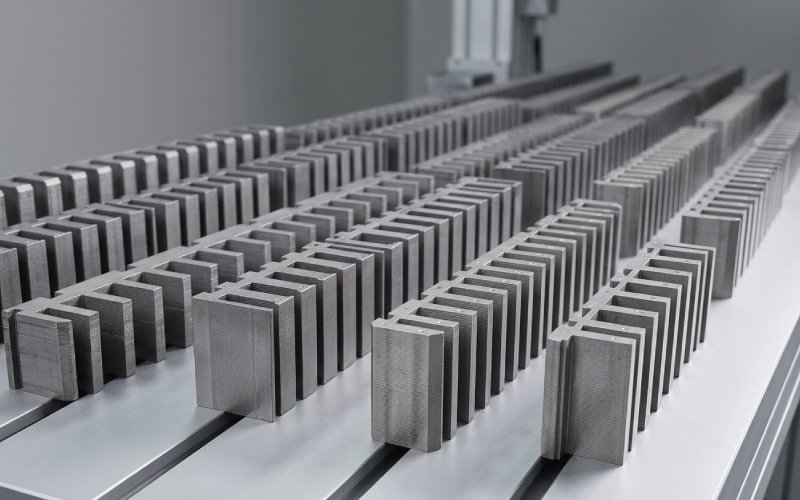
Laat Sino's lamineren Stacks Empower uw project!
Om je project te versnellen kun je lamineerstapels labelen met details zoals tolerantie, materiaal, oppervlakafwerking, of geoxideerde isolatie al dan niet vereist is, hoeveelheiden meer.
Uw Yamaha ATV start niet. De accu is altijd leeg. U draait de sleutel om en u krijgt niets. Deze problemen kunnen erg vervelend zijn. Vaak is een klein maar zeer belangrijk onderdeel, de stator, het probleem. In deze gids lees je hoe je de stator kunt vinden, hoe je kunt zien of hij slecht is en hoe je een nieuwe kunt plaatsen. Het lezen van dit artikel bespaart je tijd en geld. Je kunt deze klus zelf klaren en je ATV weer aan de praat krijgen.
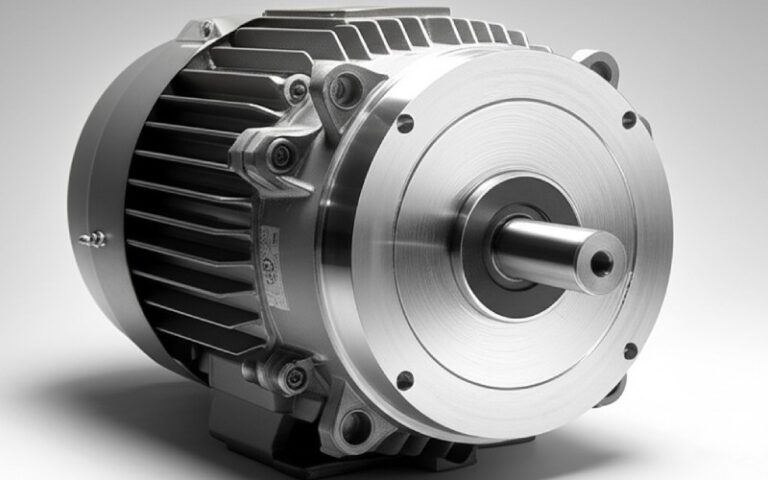
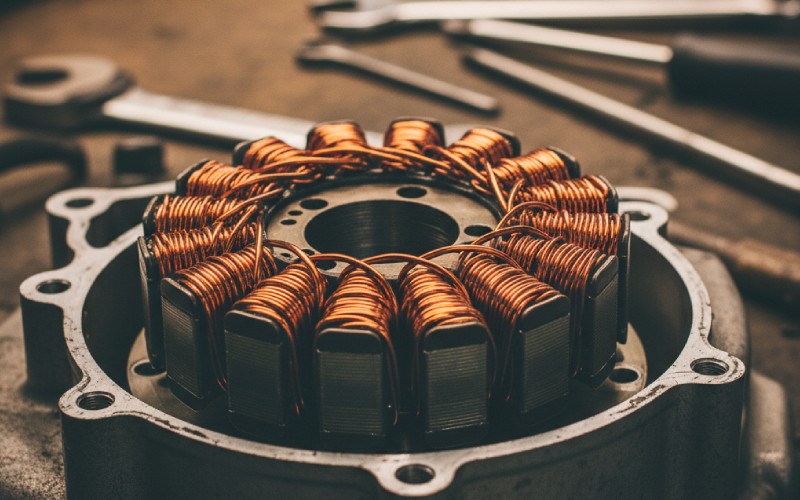
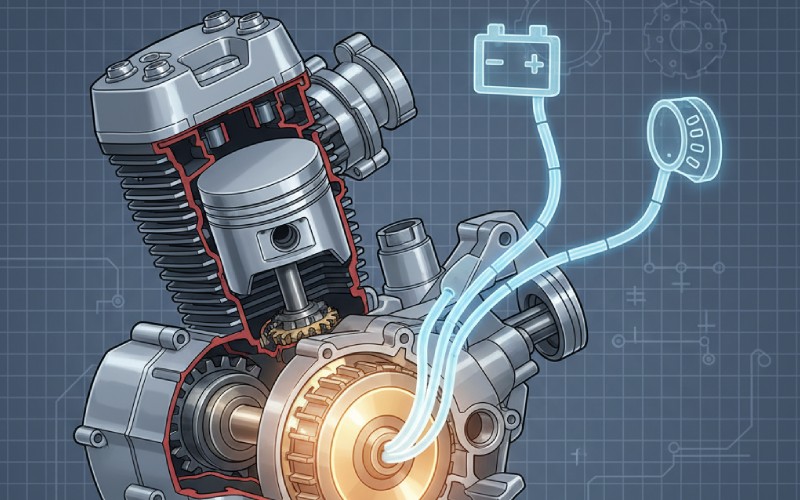
Je kunt de stator zien als een kleine energiecentrale voor je ATV. Het is een belangrijk onderdeel van het laadsysteem. De stator is een groep koperdraadspoelen die niet beweegt in je motor. Als de motor draait, draait een onderdeel met magneten, een vliegwiel genaamd, rond de stator. Deze actie maakt wisselstroom. Deze stroom wordt voor twee dingen gebruikt. Ten eerste geeft het stroom aan alle elektrische onderdelen op je motor, zoals de verlichting. Ten tweede vult het je accu weer met stroom. Als je geen goede stator hebt, wordt je accu niet opgeladen en zal je ATV stoppen met rijden.
De stator werkt samen met andere onderdelen, zoals de gelijkrichter en regelaar, om ervoor te zorgen dat je ATV de stroom krijgt die hij nodig heeft. De stator maakt wisselspanning. De gelijkrichter zet die spanning om in gelijkspanning, zodat de accu kan worden opgeladen. De regelaar zorgt ervoor dat de spanning niet te hoog wordt. Dit hele systeem moet samenwerken. Als de stator niet meer werkt, kunnen alle elektrische onderdelen problemen krijgen. Het ontwerp van een stator is eenvoudig, maar het is erg belangrijk voor hoe goed je ATV loopt. Als je stator goed is, kun je rekenen op je ATV.
Wanneer een stator kapot gaat, kan het lijken alsof er andere dingen kapot zijn. De grootste aanwijzing is een accu die steeds leegloopt. Je kunt je accu de hele nacht opladen. Maar na een kort ritje is hij alweer leeg. Dit gebeurt omdat de stator geen stroom terugvoert naar de accu wanneer de motor aanstaat. Je kunt ook zien dat je koplampen niet helder zijn of dat ze knipperen. Dit is vooral het geval bij een laag toerental.
Een andere aanwijzing is een zwakke vonk, of helemaal geen vonk. De stator helpt de bobine van stroom te voorzien. De bobine maakt de vonk voor de bougie. Als de stator zwak is, kan de vonk ook zwak zijn. Hierdoor start de motor moeilijk of loopt hij niet goed. Soms kan een slechte stator ervoor zorgen dat de motor sputtert of gewoon stopt met lopen. Je kunt de stator controleren met een multimeter om te zien hoeveel vermogen hij levert. Als uit de test blijkt dat er weinig of geen spanning is, dan is het tijd om de stator te vervangen.
| Probleem | Wat het betekent |
|---|---|
| Batterij leeg | De stator levert geen stroom terug aan de accu. |
| Dimverlichting | De elektrische onderdelen krijgen niet genoeg stroom. |
| Zwakke of geen vonk | Het vonksysteem krijgt niet genoeg vermogen. |
| Motor stopt | Een volledig slechte stator kan de motor doen stoppen. |
Waar zit de stator? U moet de stator vinden om deze te controleren of te vervangen. Op de meeste Yamaha ATV's zit de stator in de motor. Hij zit aan de linkerkant, dezelfde kant als uw versnellingspook. Hij zit verstopt achter een metalen motorkap. Deze kap wordt ook wel dynamodeksel of statordeksel genoemd. Je kunt het niet zien als je van buitenaf naar de motor kijkt.
Om de juiste afdekking te vinden, zoek je er een die rond is of de vorm heeft van een ovaal aan de zijkant van de motor. Je zou er een dikke, zwarte draad uit moeten zien komen. In deze kabel zit de groep draden van de stator. Deze kabel loopt uit het deksel en gaat omhoog naar de carrosserie van de motor. Je kunt deze kabel volgen om de juiste plek op de motor te vinden. De plek is bijna altijd hetzelfde. Maar bij andere modellen kan de vorm van het deksel iets anders zijn. De stator wordt aan de binnenkant van dit deksel vastgeschroefd.
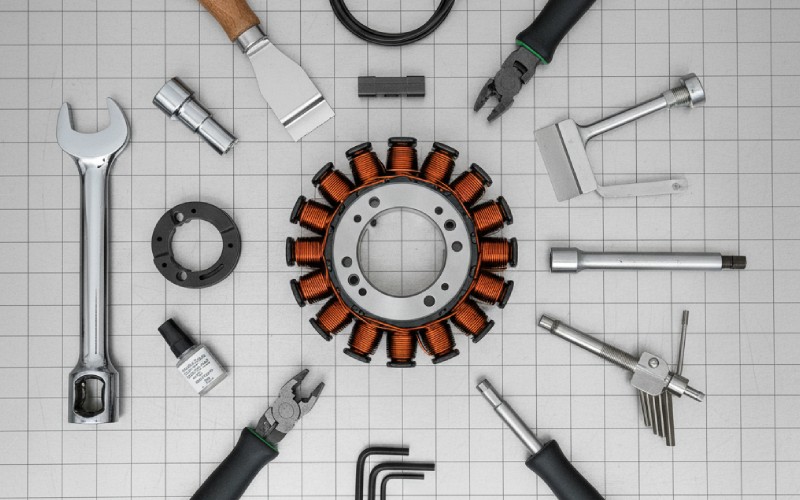
Als je deze klus zelf doet, heb je het juiste gereedschap nodig. Als je al je gereedschap bij de hand hebt, wordt de klus een stuk gemakkelijker. Je hebt niet veel speciaal gereedschap nodig, maar één stuk gereedschap is superbelangrijk.
Hier is een basislijst van wat je waarschijnlijk nodig hebt:
Dit is een algemene lijst. De exacte grootte van de moffen en het soort vliegwieltrekker is voor elke ATV anders. Je moet altijd in je gebruikershandleiding kijken om te zien wat je echt nodig hebt.
Meestal wel, ja. Je moet de motorolie aftappen voordat je het statordeksel verwijdert. De stator zit in een deel van de motor dat vol olie zit. Deze olie houdt de stator koel en zorgt ervoor dat alles goed blijft werken. De hitte van de motor kan hard zijn voor de stator en de olie helpt daarbij. Als je probeert het deksel eraf te halen zonder de olie af te tappen, loopt er overal olie uit en wordt het een grote puinhoop.
Het is eenvoudig te doen. Laat de motor eerst een minuut draaien zodat de olie warm wordt. Warme olie komt er sneller uit. Zet je opvangbak onder de motor en haal de aftapplug eruit. Laat alle olie of vloeistof er helemaal uitlopen. Als het leeg is, kun je de aftapplug er weer in doen. Nu ben je klaar om het deksel eraf te halen en naar het statordeel te gaan. Het is een goed idee om tijdens deze klus een nieuw oliefilter te plaatsen. Een nieuwe stator moet schone, nieuwe olie hebben.
Nadat de olie is afgetapt, kun je de oude stator eruit halen. Zoek eerst de elektrische stekker voor de statorbedrading en haal deze eruit. Verwijder vervolgens voorzichtig alle bouten rond het statordeksel. Het is slim om te onthouden welke bout waar hoort. Sommige bouten zijn kleiner dan andere. Het kan zijn dat het deksel vastzit. Je kunt er lichtjes op slaan met een zachte rubberen hamer om hem los te krijgen. Gebruik geen schroevendraaier om het los te maken. Dit kan de motor beschadigen.
Als het deksel eraf is, zie je het vliegwiel. Je moet het vliegwiel eraf halen om bij de stator te komen. Gebruik je vliegwieltrekker om dit onderdeel er veilig af te halen. Daarachter vind je de originele stator. Deze zit op het motorhuis geschroefd. Soms zit hij in het deksel dat je net hebt verwijderd. Je ziet ook de pick-up spoel. Dit is een kleine sensor die de motor vertelt wanneer hij een vonk moet maken. Verwijder voorzichtig de bouten waarmee de stator en de pick-up spoel vastzitten. Verwijder de rubberen plug waar de draad door het deksel gaat. Nu kun je de hele oude stator uit de motor halen.
Het plaatsen van de nieuwe stator is alsof je de eerste stappen achterstevoren doet. Begin met het schoonmaken van de motor en het deksel. Gebruik je pakkingschraper om voorzichtig al het oude pakkingmateriaal te verwijderen. Het gebied moet superschoon zijn zodat de nieuwe pakking goed past. Achtergebleven oud spul kan olie laten lekken. Wees heel voorzichtig zodat je geen krassen maakt op de zachte metalen onderdelen.
Neem je gloednieuwe stator en plaats deze op dezelfde plaats als de oude. Schroef de statorspoel en de pick-upspoel met hun bouten vast. Gebruik een momentsleutel om ze aan te draaien tot de juiste fabrieksspanning. Je kunt deze info vinden in een reparatieboek of op een goed forum. Voer de nieuwe stator draad door het gat in het deksel. Druk vervolgens de nieuwe rubberen plug er goed in. Deze afdichting is erg belangrijk om te voorkomen dat er olie uitloopt. Het nieuwe onderdeel is nu klaar om afgedekt te worden.
Het aansluiten van de nieuwe stator is een zeer belangrijke stap. De nieuwe stator heeft een draad en een stekker die moeten worden aangesloten op het elektrische systeem van de motor. Leid de nieuwe draad voorzichtig langs dezelfde weg als de oude draad. Zorg ervoor dat de draad niet wordt afgekneld of te dicht bij hete delen van de motor komt. Gebruik een van de oude clips of nieuwe zip ties om de draad op zijn plaats te houden op het frame. Houd de draad uit de buurt van de achterband of andere onderdelen die bewegen.
Het nieuwe onderdeel moet worden geleverd met een stekker die er net zo uitziet als de oude. Hij zou precies in de groep draden van je ATV moeten passen. Dit maakt het elektrische gedeelte van de klus heel eenvoudig. Zoek de overeenkomende stekker op de hoofdbedrading en sluit deze aan. Zorg ervoor dat je een klik hoort zodat je weet dat hij goed vastzit. Als je een speciale of universele stator hebt gekocht, moet je de draden misschien één voor één aansluiten. Als je dat doet, zorg er dan voor dat de kleuren van de draden overeenkomen. Een slechte verbinding zorgt ervoor dat de nieuwe stator helemaal niet werkt. Het is altijd een goed idee om een onderdeel van goede kwaliteit te kopen dat de juiste stekker heeft.
Nadat je de nieuwe stator hebt geplaatst en het deksel er weer op hebt gezet, zijn er nog enkele laatste stappen. Plaats de nieuwe pakking op het deksel. Plaats vervolgens het deksel terug op de motor. Draai de bouten van de ene naar de andere kant vast, alsof je een ster aan het tekenen bent. Dit zorgt ervoor dat het deksel er gelijkmatig op zit. Doe nieuwe olie in de motor. Zorg ervoor dat je de juiste hoeveelheid doet. Nu kun je zien of je je werk goed hebt gedaan.
Het belangrijkste om te controleren is het laadsysteem. Start de motor en laat hem draaien. Gebruik je multimeter om de spanning op de metalen polen van je accu te controleren. Als de motor stationair draait, moet je een spanning van meer dan 12,5 volt zien. Als je gas geeft, moet de spanning stijgen tot ongeveer 13,5 tot 14,5 volt. Als je dit ziet, betekent dit dat je nieuwe stator goed werkt. Hij stuurt stroom naar de accu. Kijk ook of er olielekkage is rond de kap die je hebt verwijderd. Als je het werk goed hebt gedaan, zal je ATV geweldig lopen en geen olie lekken.
Soms heb je een probleem dat alleen voorkomt bij jouw soort ATV. Misschien zit er een bout vast of heeft een draad een andere kleur. Wanneer dit gebeurt, is een online Yamaha ATV-forum een zeer nuttige plaats om te zoeken. Een forum is een website waar eigenaren praten over wat hen is overkomen en elkaar helpen. U kunt een vraag stellen en zelfs foto's van uw probleem toevoegen. Andere mensen die hetzelfde hebben gedaan, kunnen u tips geven. Een forum is een geweldige plek om goede informatie te vinden.
Veel mensen op een forum maken "how-to" gidsen voor een verandering of een reparatie. Je kunt veel nuttige tips vinden die niet in het hoofdreparatieboek staan. Iemand kan je bijvoorbeeld vertellen over een betere stator die je kunt kopen. Of ze weten misschien een makkelijke manier om een vastzittend onderdeel los te krijgen. Een goed forum is een groep mensen die van hun ATV's houden. Zij kunnen de beste hulp zijn wanneer je die nodig hebt. Zoek een forum dat helemaal over jouw soort ATV gaat om de beste hulp te vinden.