Sinoのラミネーションスタックにお任せください!
プロジェクトをスピードアップするために、ラミネーションスタックに以下のような詳細なラベルを付けることができます。 寛容, 材料, 表面仕上げ, 酸化絶縁が必要かどうか, 数量などなど。
ヤマハATVが始動しない。バッテリーはいつも上がっている。キーを回しても何も出ない。このような問題は本当につらいものです。多くの場合、問題はステーターと呼ばれる小さいが非常に重要な部品にあります。このガイドでは、ステーターの見つけ方、不良かどうかの確認方法、新しいステーターの取り付け方を説明します。この記事を読めば、時間とお金の節約になります。この作業を自分で行い、ATVを再び走らせることができます。
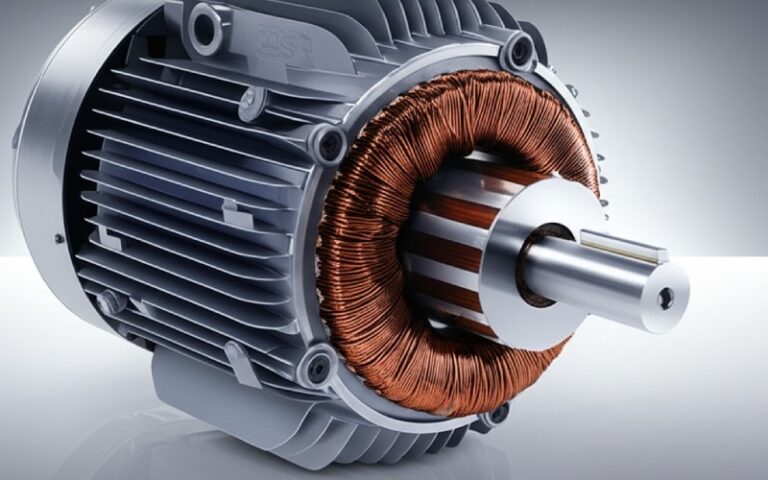
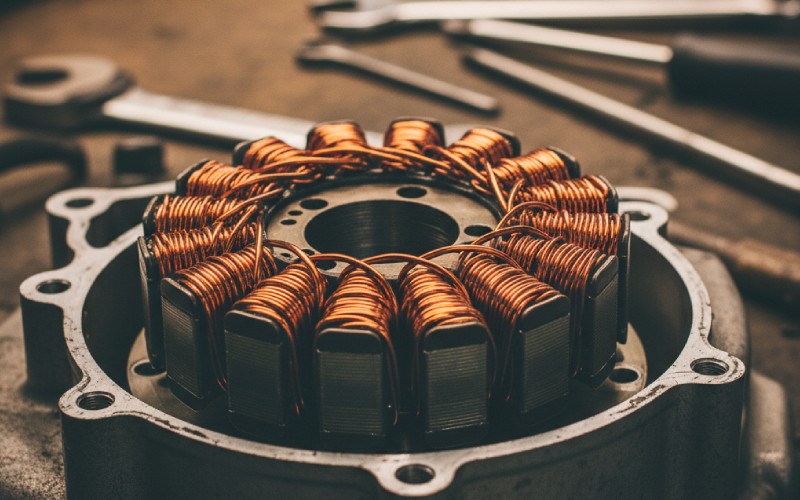
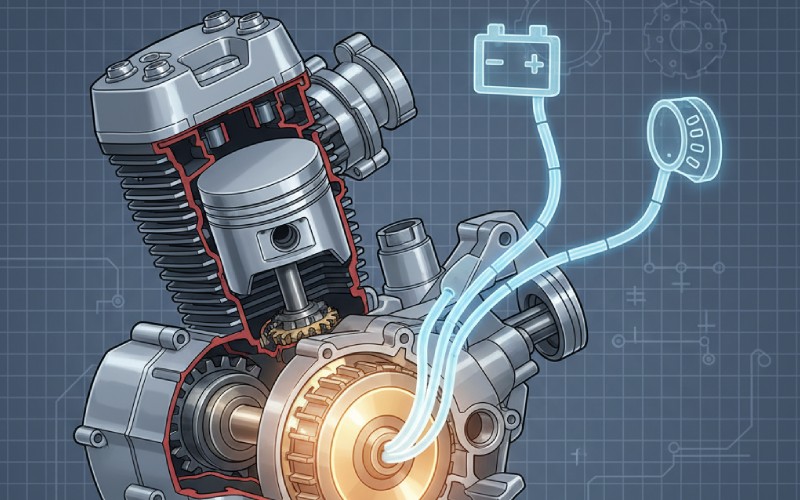
ステーターはATVの小さな発電所と考えることができます。充電システムの主要部分です。ステーターは銅線のコイルで、エンジン内部では動きません。モーターが作動すると、フライホイールと呼ばれる磁石の付いた部品がステーターの周りを回転します。この働きによって交流電力が作られる。この電力は2つのことに使われる。第一に、ライトなどバイクのすべての電気部品に電力を供給します。2つ目は、バッテリーに再び電力を供給することです。ステーターが良くないと、バッテリーは充電されず、ATVは動かなくなります。
ステーターは、整流器やレギュレーターなどの他の部品と協力して、ATVに必要な電力を供給します。ステーターは交流電圧を作ります。整流器部分はその電力を直流電圧に変え、バッテリーを充電できるようにします。レギュレーター部分は電力レベルが高くなりすぎないようにします。このシステム全体が連動する必要がある。ステーターが機能しなくなると、すべての電気部品に問題が生じる可能性がある。ステーターの設計はシンプルですが、ATVの走行性能にとって非常に重要です。ステーターが正常であれば、ATVを頼りにすることができます。
ステーターが悪くなると、他のものが壊れているように見えることがある。最大のヒントは、バッテリーが切れ続けることだ。バッテリーは一晩中充電できる。しかし、ちょっと走っただけでまたバッテリーが上がってしまう。これは、エンジンがかかっているときにステーターがバッテリーに電力を戻していないために起こります。また、ヘッドライトが明るくない、あるいは点滅しているということもあるかもしれません。これは特にエンジンが低速のときに起こります。
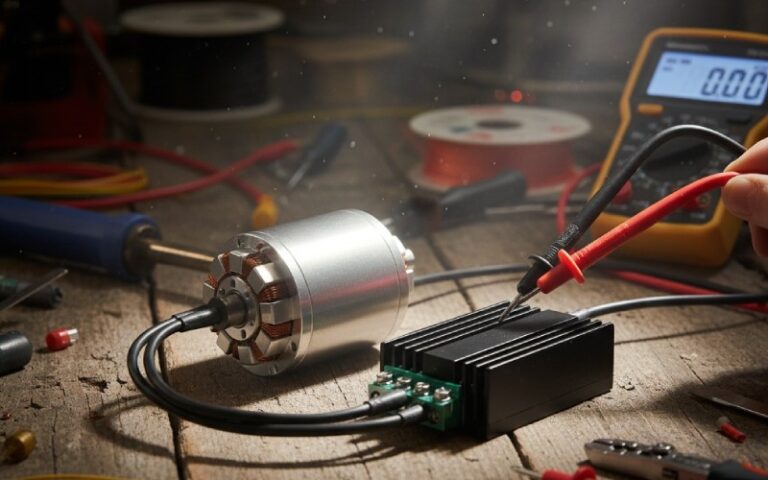
もうひとつの手がかりは、火花が弱い、あるいはまったくないことです。ステーターはイグニッションコイルに電力を供給するのに役立っています。イグニッションコイルはスパークプラグの火花を作るものです。ステーターが弱いと火花も弱くなります。そのため、エンジンが始動しにくくなったり、正常に回転しなくなったりします。ステーターが悪いと、エンジンが空回りしたり、動かなくなったりすることもあります。マルチメーターと呼ばれるツールでステー ターをチェックし、ステーターがどの程度の電力を発 生しているかを調べることができます。テストの結果、電圧が非常に低いか、まったくな い場合は、ステータを交換する時期が来ています。
| 問題 | その意味 |
|---|---|
| バッテリー上がり | ステーターがバッテリーに電力を戻していない。 |
| 薄暗い照明 | 電気部品に十分な電力が供給されていない。 |
| 火花が弱い、またはない | スパークシステムのパワーが足りない。 |
| エンジン停止 | 完全に不良のステーターはモーターを停止させる可能性がある。 |
では、ステーターはどこにあるのでしょうか?ステーターを点検したり交換したりするには、ステーターを見つける必要があります。ほとんどのヤマハATVでは、ステーターはエンジン内部にあります。左側にあり、ギアシフターと同じ側です。金属製のエンジンカバーの後ろに隠れています。このカバーはオルタネーターカバーやステーターカバーと呼ばれることもあります。エンジンを外から見ただけではわかりません。
正しいカバーを見つけるには、エンジンの側面にある丸いもの、または楕円のような形のものを探します。そこから太くて黒いワイヤーが出ているはずです。このケーブルは、ステーターからのワイヤーのグループを保持しています。このケーブルはカバーから出て、バイク本体まで伸びています。このケーブルをたどって、エンジンの正しい場所を見つけることができる。場所はほとんどいつも同じです。しかし、他のモデルではカバーの形状が少し異なるかもしれません。ステーターはこのカバーの内側にネジ止めされている。
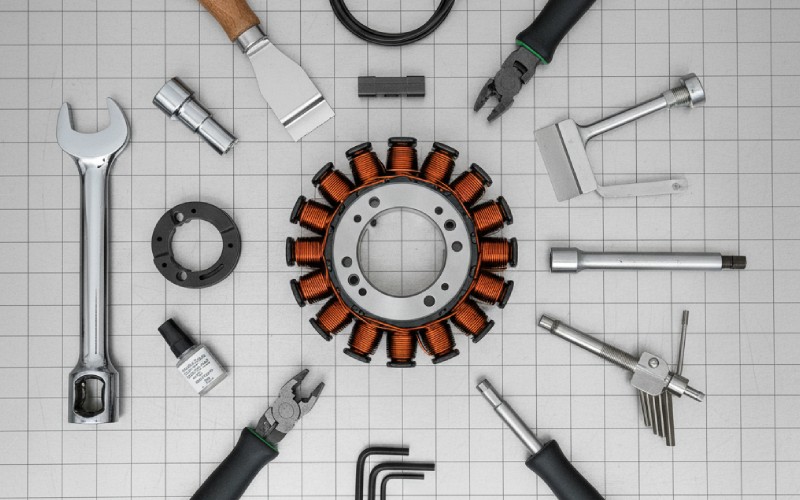
自分でこの仕事をするということは、適切な道具が必要だということだ。すべての道具を用意しておくと、作業がとても楽になる。特別な道具はあまり必要ないが、1つだけ超重要な道具がある。
以下は、おそらく必要なものの基本的なリストである:
これは一般的なリストです。ソケットの正確なサイズとフライホイールプーラーの種類はATVごとに異なります。何が本当に必要かは、必ずオーナーズブックを参照してください。
通常はそうだ。ステーターのカバーを外す前に、モーターオイルを抜く必要があります。ステーターはエンジンのオイルで満たされている部分にあります。このオイルはステーターを冷やし、すべてが正しく機能するのを助ける。エンジンの熱はステーターに負担をかけますが、オイルがそれを防いでくれるのです。オイルを抜かずにカバーを外そうとすると、オイルがあちこちにこぼれて大変なことになる。
やり方は簡単です。まず、オイルが温まるようにエンジンを1分間作動させます。温かいオイルは早く出てきます。エンジンの下にドレンパンを置き、ドレンプラグを外します。オイルまたはフルードをすべて抜き取る。空になったら、ドレンプラグを戻す。これでカバーを外し、ステーター部分に行く準備ができました。この作業を行っている間に、新しいオイルフィルターを入れることをお勧めします。新しいステーターにはきれいな新しいオイルが入っているはずです。
オイルを抜いたら、古いステーターを取り出します。まず、ステーターワイヤーの電気プラグを見つけて抜く。次に、ステーターカバー周辺のボルトをすべて慎重に外します。どのボルトがどこにあるか覚えておくとスマートです。いくつかのボルトは、他のボルトよりサイズが小さいかもしれません。カバーが固着しているかもしれません。柔らかいゴム槌で軽く叩くと緩みます。ドライバーで無理に外そうとしないでください。エンジンを傷つける恐れがあります。
カバーを外すとフライホイールが見えます。ステーターに行くにはフライホイールを外す必要があります。フライホイールプーラーを使って、このパーツを安全に取り外してください。その後ろにオリジナルのステーターがあります。エンジンケースにネジ止めされています。外したカバーの内側にあることもあります。ピックアップコイルも見えます。これは小さなセンサーで、スパークするタイミングをエンジンに伝えます。ステーターとピックアップコイルを固定しているボルトを慎重に外します。ワイヤーがカバーを通っているところのゴム栓を取り出します。これで古いステーター全体をバイクから取り出すことができる。
新しいステーターの取り付けは、最初のステップを逆に行うようなものです。エンジンケースとカバーのクリーニングから始めます。ガスケットスクレーパーを使い、古いガスケットを丁寧に取り除きます。新しいガスケットがしっかりとフィットするように、このエリアは非常にクリーンである必要があります。古いものが残っているとオイルが漏れてしまいます。柔らかい金属部分に傷をつけないよう、細心の注意を払うこと。
新品のステーターを古いステーターと同じ場所に取り付けます。ステーターコイルとピックアップコイルをボルトでねじ込みます。トルクレンチを使って、工場出荷時の適切な締め付けレベルまで締め付ける。この情報は、修理の本や良いフォーラムで見つけることができます。新しいステーターワイヤーをカバーの穴に通します。そして、新しいゴム栓をしっかりと押し込んでください。このシールはオイルが外に出ないようにするためにとても重要です。これで新しいパーツをカバーする準備ができました。
新しいステーターの接続は非常に重要なステップです。新しいステーターにはワイヤーとプラグがあり、バイクの電気系統に接続する必要があります。新しいワイヤーを古いワイヤーと同じように慎重に通します。ワイヤーが圧迫されたり、エンジンの熱い部分に近づきすぎたりしないように注意してください。古いクリップや新しい結束バンドを使用して、ワイヤーをフレームに固定します。リアタイヤや動く部品にワイヤーを近づけない。
新しい部品には、古いものと同じように見えるプラグが付いているはずです。ATVのワイヤー群にぴったり合うはずだ。これで電気系統の作業はとても簡単になります。メインワイヤーに合うプラグを見つけて差し込みます。カチッと音がするのを確認して、ぴったりはまることを確認します。特殊なステーターやユニバーサル・ステーターを購入した場合は、ワイヤーを1本ずつ接続する必要があるかもしれません。その場合、ワイヤーの色が合っていることを確認してください。ここでの接続が悪いと、新しいステーターはまったく機能しなくなります。正しいプラグが付いた良質のパーツを購入するのが常に良いアイデアです。
新しいステーターを入れ、カバーを元に戻した後、最後のステップがあります。新しいガスケットをカバーに取り付けます。そしてカバーをエンジンに戻します。星を描くように、片側からもう片側へとボルトを締めます。こうすることで、カバーが均等に装着される。エンジンに新しいオイルを入れる。適切な量を入れてください。これで、良い作業ができたかどうかを確認する準備ができました。
チェックすべき最大のポイントは充電システムです。エンジンを始動し、走行させます。マルチメーターでバッテリーの金属ポストの電圧をチェックします。エンジンがアイドリングしているときは、12.5ボルト以上の数値が表示されているはずです。ガソリンを入れると、電圧は約13.5~14.5ボルトまで上がるはずです。これが表示されたら、新しいステーターが正しく動作していることを意味します。バッテリーに電力を送っています。また、外したカバーの周囲にオイル漏れがないかを確認する必要があります。正しく作業が行われていれば、あなたのATVはオイル漏れもなく、快調に走ることでしょう。
時には、あなたのATVにしか起こらない問題があるかもしれない。ボルトが動かないとか、ワイヤーの色が違うとか。そんなとき、本当に役立つのがオンラインのヤマハATVフォーラムです。フォーラムとは、オーナーが自分の身に起こったことについて話し、お互いに助け合うウェブサイトです。質問をしたり、問題の写真を追加することもできます。同じ作業をした他の人がヒントをくれることもあります。フォーラムは良い情報を見つけるのに最適な場所です。
フォーラムでは、多くの人が交換や修理の "ハウツー "ガイドを作っている。主な修理の本には載っていない、役に立つヒントがたくさん見つかります。例えば、もっといいステーターを教えてくれる人がいるかもしれない。あるいは、動かなくなったパーツを外す簡単な方法を知っているかもしれない。良いフォーラムとは、ATVを愛する人々の集まりです。彼らは、あなたがそれを必要とするときに最高の助けになることができます。最高の助けを見つけるために、あなたの種類のATVに関するフォーラムを探してください。