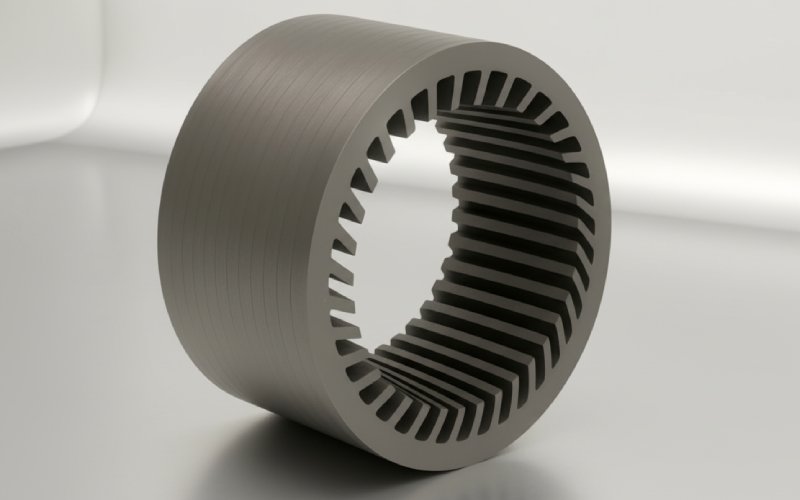
Let Sino's Lamination Stacks Empower Your Project!
To speed up your project, you can label Lamination Stacks with details such as tolerance, material, surface finish, whether or not oxidized insulation is required, quantity, and more.
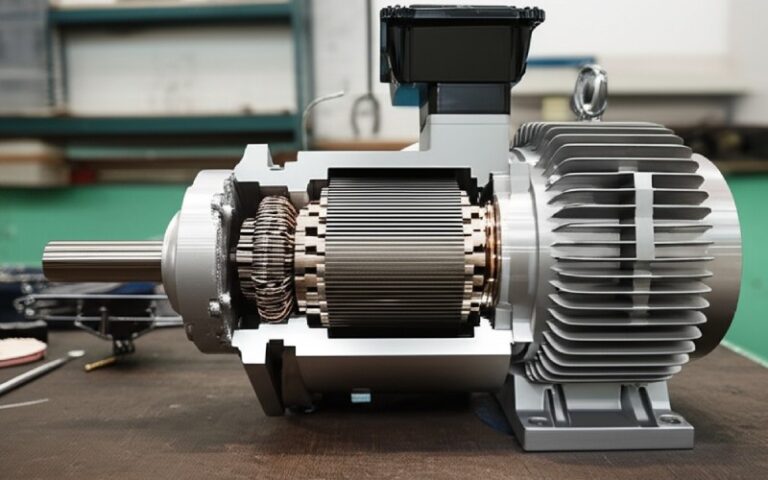
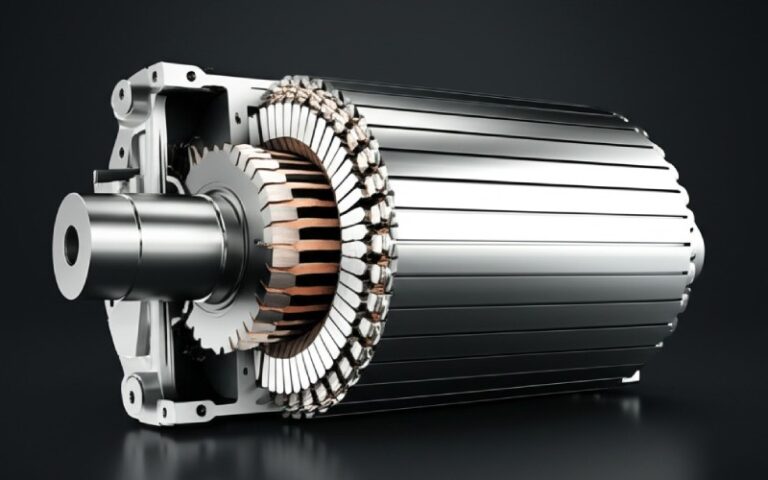
There are two main parts within a brushless DC (BLDC) motor system: the bldc motor and the controller. When something breaks, it can be difficult to find out which part is the problem. This article is here to help you. I am going to share my own list of steps to help you find out what is wrong with your bldc motor setup. We will go over the five problems I have seen most often. If you follow these steps, you can save a lot of time and money. You can stop guessing and start fixing things. This guide will show you how to find the problem in a simple and clear way.
When a bldc motor does not move at all, the first thing people think is broken is the electronic controller. I have done it, too. I have looked at a motor that is not moving and thought, “This new controller must be no good.” But from what I have seen, that is not usually the problem. The controller is like the brain of the system. But it needs power to do anything.
The problem is usually something much more simple. You should check the power source first. Do this before you think the controller is broken. Is your battery all the way charged? One time, I worked all afternoon on a scooter. I later found out the battery only had 5 volts. Is the fuse blown? Fuses are made to break first. This protects parts that cost more money, like your motor controller. Always begin with the easy things. Check your battery, your power switch, and your fuses. This easy first step can save you from a big headache.
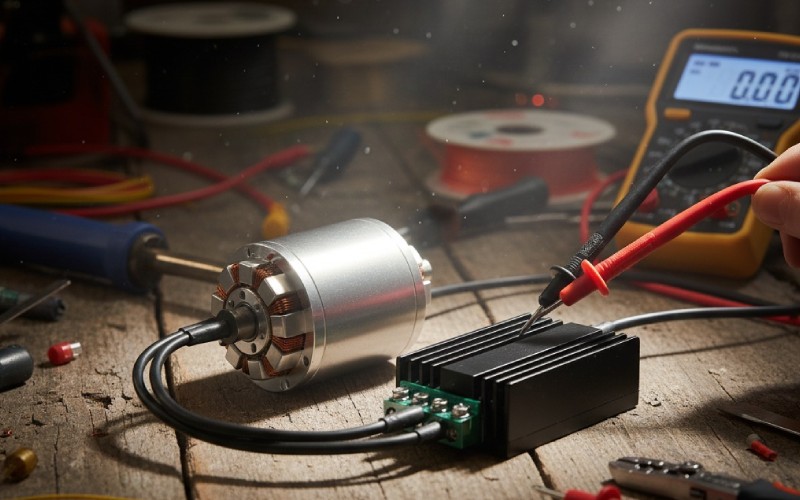
So, you checked the battery. It is okay. The fuse is good, too. Now, we can think that the controller might be the problem. Next, you need to see if power is going into the controller. You also need to see if power is coming out of it. For this, you will need a simple tool called a multimeter. You should set it to measure DC volts.
First, look at the main power connection on the controller. You will usually see two thick wires. There is a red one for positive and a black one for negative. Carefully touch the tips of your multimeter to the screws or plugs where these wires connect. You should see a number that is the same as your battery’s voltage. If you do not see that number, there is a problem with the wires between your battery and the controller. If you do see the right voltage, then you know the controller is getting power. This is a good thing. Next, check if the controller is sending out a low-voltage signal for parts like the throttle. This is usually a 5-volt line.
This is a problem I see very often. You use the throttle, and the bldc motor just twitches or jerks. It tries to move, but it cannot spin the right way. This is almost always a problem with the sensors in the motor. They are called Hall effect sensors, or just hall sensors. A brushless dc motor must know its own position to spin the right way. That is the job of the hall sensors.
You can think about it this way: the controller has to know which of the three-phase wires to give power to at any time. The hall sensors are like eyes for the controller. They tell it where the motor’s rotor is. If one of these sensors is not working or a wire is not connected well, the controller does not know what to do. It sends power to the wrong wire at the wrong time. This makes the motor work against itself. That is why it moves in a jerky way. A bad hall sensor signal is a very common cause for a motor not working well.
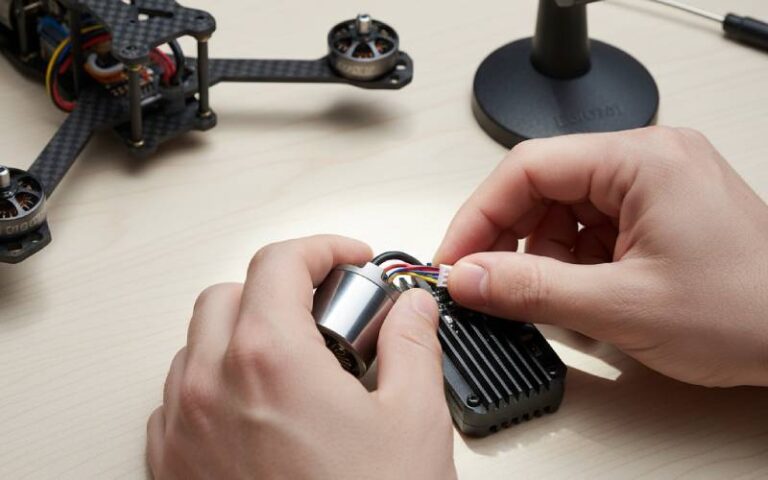
Testing the hall sensors might seem hard, but it is not. The hall sensors have their own plug, usually with five or six small wires. Two of these wires are for power (usually a red and a black wire). The other three wires send signals (often yellow, green, and blue). The controller sends 5 volts to give power to the hall sensors. Then, the sensors send a signal back to the controller.
To test them, you can use your multimeter.
You have to do this test for all three of the signal wires. The chart below shows you what to look for.
| Hall Sensor Wire | Motor Still | Motor Turning Slowly | What You Should See |
|---|---|---|---|
| Yellow Signal | X | Reading is 0V or 5V | |
| Yellow Signal | X | Reading changes between 0V and 5V | |
| Green Signal | X | Reading is 0V or 5V | |
| Green Signal | X | Reading changes between 0V and 5V | |
| Blue Signal | X | Reading is 0V or 5V | |
| Blue Signal | X | Reading changes between 0V and 5V |
If one of the wires stays at 0 or 5 volts and does not change when you turn the motor, you have found your problem. It is probably a bad hall sensor inside the motor.
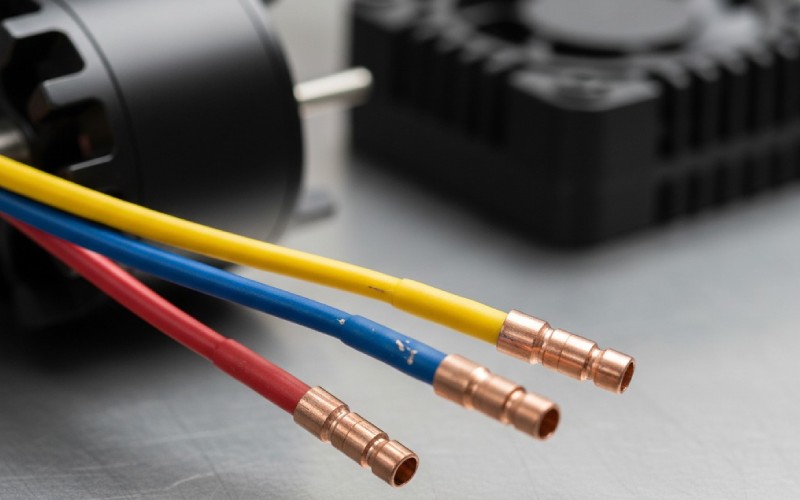
The big, thick wires going from the controller to the bldc motor are called phase wires. There are usually three of them. These wires carry the power that makes the motor go. If one of these wires has a bad connection, the motor will not work the right way. The motor might jerk, run with very little strength, or make a loud humming sound.
I remember building an electric bike one time. The motor felt very weak. It would turn, but I could stop it with my hand. I checked everything. It turned out that one of the plugs for a phase wire was loose. The connection was barely making contact. As soon as I connected it the right way, the motor had all its strength back. A bad phase wire connection means the motor does not get the power it needs for good operation.
Checking the phase wires is not hard. First, just look at them. Look at the plugs between the controller and the motor. Are they connected tightly? Do you see any black marks from burning or any melted plastic? A bad connection can make a lot of heat. If it all looks okay, you can do a quick resistance test with your multimeter.
Unplug the phase wires from the controller. Set your multimeter to the lowest setting for resistance (Ohms). Check the resistance between each pair of phase wires that come from the motor. For example, check between the Yellow and Green wires. Then check between the Yellow and Blue wires. Then check between the Green and Blue wires. The numbers you see should be very low. They should also be very close to each other. If one number is much higher, or if it shows no connection, there is likely a broken wire or a bad part inside the bldc motor. This tells you the problem is with the motor, not the controller.
It is normal for a motor controller to feel warm when it is working. But if it gets so hot that you cannot touch it, there is a problem. A controller that is getting too hot is a sign that it is working too hard. This can make it stop working sooner and can cause it to break completely. The first thing to check is if the controller is the correct size for your bldc motor. A small controller that is trying to run a big motor will always get hot.
Another common reason for a hot controller is too much work. Are you trying to ride an electric scooter up a very big hill? Are you using the motor at a very high power level for a long time? This can make both the motor and the controller get too hot. Make sure the controller has air moving around it to cool off. If it is inside a box with no way for air to get in or out, it cannot get rid of the heat it makes.
Sometimes it is difficult to know what is making the heat. Is the bldc motor using too much power and making the controller hot? Or is there a problem with the controller itself that is making it hot? A good way to check this is to run the motor with nothing attached to it. This means you should take the chain off your bike or take the propeller off your drone.
Run the motor for one or two minutes with nothing attached. If the controller still gets very hot, the problem is probably inside the controller. It could have a bad part inside that is creating extra resistance. But if the controller stays cool with nothing attached, and then gets hot when you connect it, the problem is likely the work it is doing. The motor might be too small for the task, or something might be rubbing and making the motor work harder. This easy test helps you know if you need a new controller or if you need to check your motor and the parts connected to it.
This is my favorite problem because it is usually the easiest to fix. You connect everything, you use the throttle, and the wheel spins the wrong way. This is a very common thing to happen with a brushless dc motor. Do not worry. You did not break your controller. You do not need to buy a new one. The fix is almost always very simple.
The direction a three-phase bldc motor spins depends on the order of the phase wires and the hall sensor wires. To make it spin the other way, you just need to switch some wires.
That is all you have to do. When you switch both sets of wires, you will change the motor’s direction, and it will still work correctly. Your motor will now have a smooth operation and will spin in the right direction.
I always try to fix things before I get new ones. But sometimes, a controller is just too broken to be fixed. If you have tried all of the steps I talked about and you still have problems, it might be time for a new one. There are a few very clear signs that a controller is completely broken.
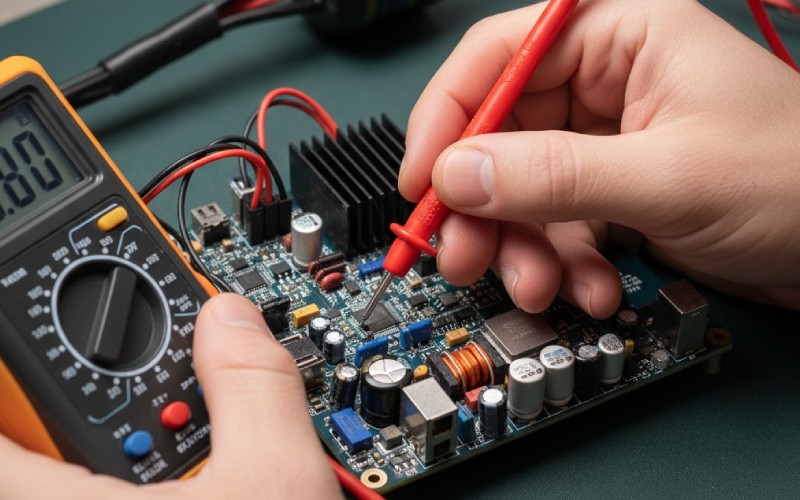
If you see or smell smoke coming from the controller, it is finished. This usually means a key part inside, called a MOSFET, has burned up. If the box of the controller looks melted or pushed out, that is another very bad sign. Lastly, if you have made sure that good battery power is going into the controller, but nothing comes out—no 5 volts for the sensors, no power to the phase wires—then the main part of the controller is likely broken. When these things happen, the best and safest thing to do is to get a new controller.