Let Sino's Lamination Stacks Empower Your Project!
To speed up your project, you can label Lamination Stacks with details such as tolerance, material, surface finish, whether or not oxidized insulation is required, quantity, and more.
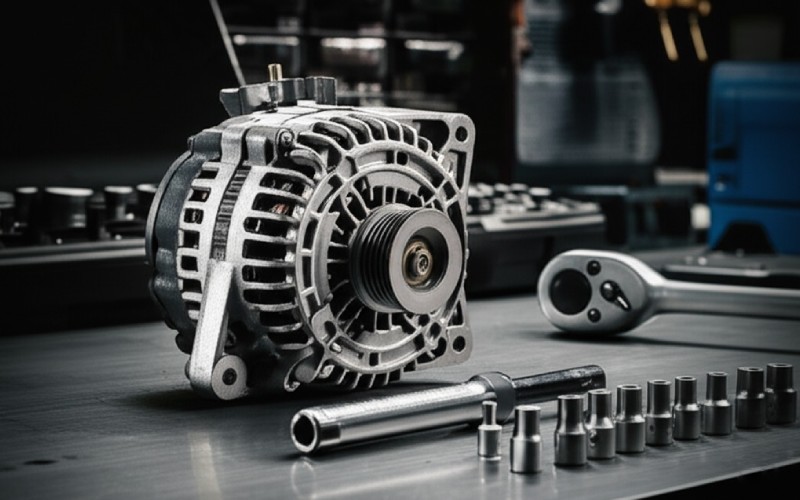
Your car’s alternator is a small but mighty part. It is the heart of your car’s electrical system. It powers everything from your radio to your headlights. This guide covers everything you need to know about overhauling an alternator. I will walk you through the entire process. We will look at the warning signs of alternator failure and how to do the repair right. This article will help you understand your alternator and how to fix it.
The signs might be small at first. Like a dim headlight. Then an acting-up radio. These are classic signs of alternator trouble. Your vehicle is trying to tell you something. The most common symptom is a warning light on your dashboard. It often looks like a battery. This light means the electrical system has a problem. The alternator may not be making enough power.
You might also hear strange noises. A failing alternator can make a whining or grinding sound. This noise often gets worse as the engine works harder. Another one of the warning signs is flickering dashboard lights. If you see flickering lights or your headlight gets dim when you slow down, it’s a big clue. Don’t ignore these signs. A failing alternator will eventually leave you with a dead battery and a car that won’t start. Acting fast can save you from being stranded.
This is a great question. Many people blame the battery when the alternator is the problem. A weak battery and a bad alternator can look the same. Both can keep your car from starting. Here is a simple test. If you can jump-start your car and it keeps running, your battery was likely the issue. But if you jump-start it and it dies again after a few minutes, the alternator is probably bad. The alternator is supposed to keep the battery charged while the engine is on. If it fails, the car is only running on battery power, which doesn’t last long.
Another way to check is with a voltmeter. A healthy battery should read about 12.6 volts when the car is off. When you start the engine, the alternator should kick in. The reading should jump to around 14 volts. If the voltage stays the same or drops when the engine is running, your alternator is not doing its job. This simple check can help you diagnose the problem correctly. It will tell you if the alternator is the issue before you begin any repair.
Before you start any alternator repair, you need the right tools. A job is only as good as the tools you use. You don’t need a huge, expensive set, but you do need some basics. First, get a good socket and ratchet set. You will need it to remove the bolt that holds the alternator in place. You will also need a wrench set. A belt tensioner tool is also very helpful. It will help you remove the belt from the alternator pulley.
You will also need safety gear. Never work without safety glasses and gloves. You’ll be working near the engine, and it’s better to be safe. A multimeter or voltmeter is crucial to test the alternator and battery. Finally, have some cleaning supplies ready. A wire brush and some rags are great for cleaning corroded connections and parts. Having everything ready before you start makes the alternator repair and replacement process much smoother.
This is the most important first step. Before you touch the alternator, you must disconnect the battery. The alternator is a key part of the electrical system. If you try to remove it with the battery connected, you can cause a short. This can damage electrical components, or worse, cause a fire or an electrical shock. It is a serious hazard.
To safely disconnect the battery, always start with the negative terminal. It is usually marked with a minus sign (-) and has a black cover. Use a wrench or socket to loosen the nut on the negative cable clamp. You don’t need to remove the nut completely, just loosen it. Once loose, wiggle the cable off the battery pin. Tuck it to the side so it can’t accidentally touch the battery again. This simple step is vital for a safe alternator repair. You need to disconnect the battery to prevent any damage or injury.
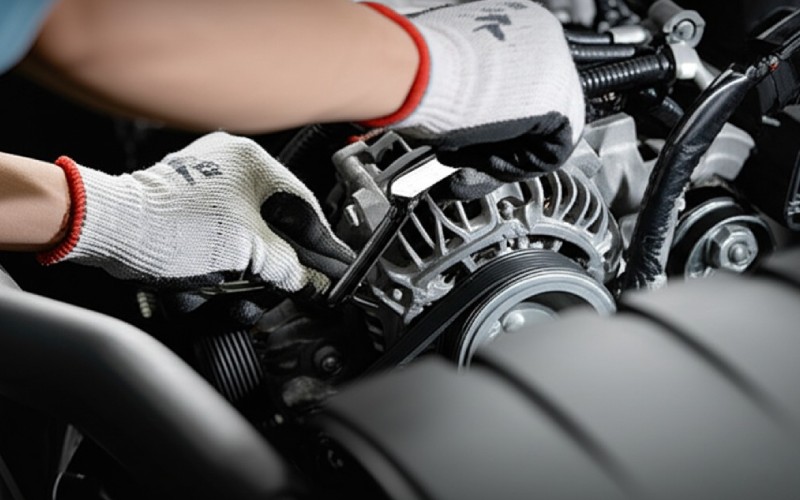
Once the battery is safely disconnected, you can begin to remove the alternator. The first step is to remove the serpentine belt. Use a diagram or take a picture of the belt’s path first. This makes it easier to put back on later. Use your belt tensioner tool to release the tension on the belt. Then, you can slip the belt off the alternator pulley. Be careful and take your time.
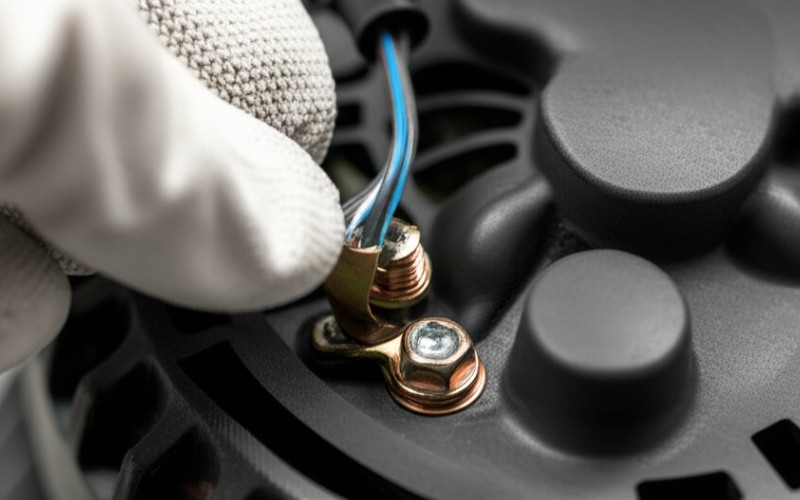
Next, you need to disconnect the wiring from the back of the alternator. There will be a main electrical cable held on by a nut and a smaller wiring plug. Carefully remove the nut and pull off the large cable. Then, unplug the wiring harness. Now, you can remove the alternator itself. The alternator is held on by a few long bolts, usually two or three. They might be tight. Use your socket set to loosen and remove each bolt. Once the bolts are out, you should be able to carefully lift the alternator out of the engine bay.
Now you have the old alternator out. You have a choice to make. You can try to fix it, or you can replace it. Deciding whether to disassemble the alternator depends on the problem and your skill level. If you are comfortable with small electrical parts, a repair might be a good solution. An alternator is a simple machine, in a way. It has a few main parts that can fail, like the bearings, brushes, or the voltage regulator.
If you open up the alternator and see that a brush is worn out, you can often find a replacement part. This can be much cheaper than buying a whole new alternator. However, if the damage is extensive, or if you are not sure what to look for, it’s often better to just get a new one. A bad repair can fail again quickly. A full replacement offers peace of mind. To disassemble the alternator, you’ll need to remove the pulley and open the case. It takes patience.
If you decide to open up your alternator, you need to know what to look for. One of the most common parts to fail is the set of brushes. The brush assembly makes electrical contact with the spinning part of the alternator. Over time, these small carbon pieces wear down. If they are too short, they can’t do their job. You can usually replace them. You just need to find the right set of new brushes for your alternator model.
Another key component is the voltage regulator. This part controls how much charge the alternator sends to the battery. If it fails, your battery can be overcharged or undercharged. Both are bad. You can also check the bearings. If they feel rough or make noise when you spin the alternator pulley by hand, they need to be replaced. A full alternator rebuild means you replace all these wearable parts. This can make an old alternator work like new and extend the lifespan of the component.
You don’t have to wait for your alternator to fail to give it some attention. Good maintenance can prevent a lot of problems. A little bit of care goes a long way. The most important part of maintaining the alternator is to check the belt. The belt that drives the alternator needs to be in good shape. Check it for cracks or fraying. Also, check the belt tension. A loose belt can slip, which means the alternator won’t spin fast enough to work efficiently. A belt that is too tight can cause damage to the alternator bearings.
You should also keep the alternator and its connections clean. Dirt and oil can cause the alternator to overheat. Periodically check the wiring that connects to the alternator. Make sure the connections are tight and free of corrosion. Corroded connections can block the flow of electrical energy. This simple maintenance routine can help your alternator last for many years and keep your vehicle running smoothly.
Putting the repaired or new alternator back in is mostly the reverse of taking it out. The first step is to carefully place the alternator back onto its mounting bracket. Line up the bolt holes. It can be a bit heavy, so be careful not to drop it. Insert the mounting bolts and tighten them, but don’t tighten them all the way just yet. You want the alternator to have a little bit of wiggle room.
Now it’s time to put the serpentine belt back on. This is where that picture you took earlier comes in handy. Loop the belt around the pulleys in the correct order. Use your tensioner tool to release the tension, and slip the belt over the alternator pulley. Once the belt is on, you can fully tighten the alternator mounting bolt. Double-check the belt’s tension. It should be snug, but not too tight. A good rule of thumb is that you should only be able to twist it about a quarter of a turn.
You are almost done with your alternator repair and replacement job. But there is one final, crucial step. Before you start the car, you need to reconnect everything properly. Attach the wiring plug and the main electrical cable to the back of the alternator. Make sure the nut on the main cable is tight. A loose connection here can cause all sorts of problems. Once the alternator is fully installed and the wiring is secure, you can reconnect the battery. This time, you connect the negative cable last.
Now for the moment of truth. Start the engine. Let it run for a few minutes. Watch the dashboard. The battery warning light should turn off and stay off. Use your voltmeter one last time to check the battery. With the engine running, you should see a reading of around 14 volts. This tells you the new alternator is doing its job of charging the battery. This final check will ensure your repair was a success and your vehicle’s electrical system is healthy. Taking the time to do this last check gives you peace of mind.