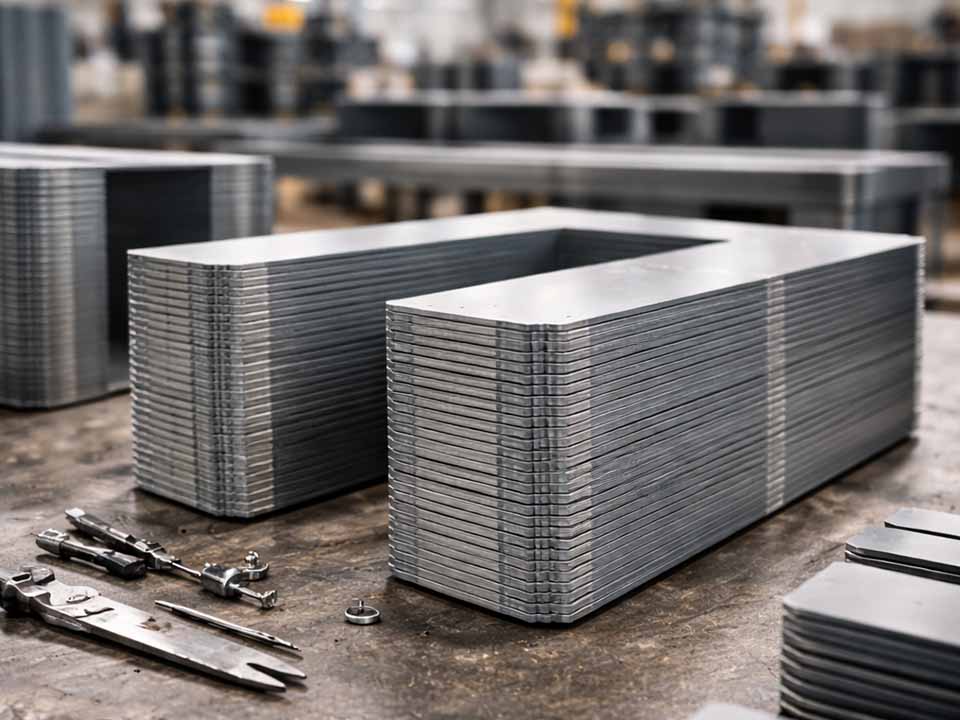
Let Sino's Lamination Stacks Empower Your Project!
To speed up your project, you can label Lamination Stacks with details such as tolerance, material, surface finish, whether or not oxidized insulation is required, quantity, and more.
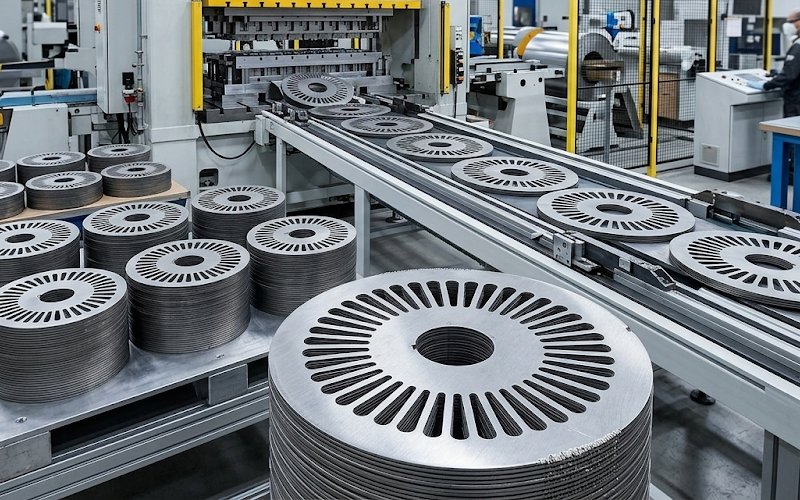
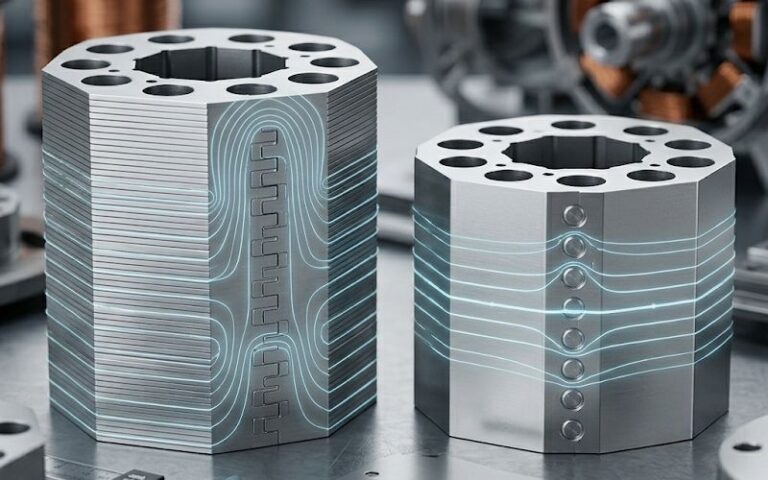
Lamination dies rarely fail in a dramatic way. More often, the line keeps running, parts still look close enough, and the trouble shows up one layer later: burrs get taller, stack fit gets less clean, interlocks stop feeling consistent, press load creeps up. That slow drift is the expensive part. In lamination work, cut-edge quality is tied to stacking behavior and, in electrical steel, to insulation integrity and core loss as well. Burrs at the edge can create conductive bridges between sheets, which is exactly the kind of defect that starts small and ends up in heat, loss, or unstable stack quality.
That is why die wear in lamination stamping should not be treated as a simple tooling issue. It is a stack-quality issue. Sometimes a magnetic-performance issue too. A die can still be “running” while the process is already outside the window that makes sense for laminations.
It usually starts at the features with the least forgiveness: narrow slots, tooth roots, tight radii, pilot-related features, bridges, and interlock forms. Straight outer profiles often survive longer. Small internal features do not. When wear begins, it also tends to be local before it becomes global. One slot starts building burr faster than the others. One punch makes the tonnage trace look a little different. One bridge starts showing drag. The mistake is to average all that away and call the die healthy.
Clearance still does the heavy lifting here. Too little clearance raises cutting force, tool stress, and edge damage. Too much clearance tends to raise burr height and worsen the fractured zone. In general stamping, old rules of thumb often start around 5% per side or around 10% of stock thickness depending on the shop and the material class. Thin electrical steel is usually handled more narrowly than that. For lamination work around 0.35 mm stock, a practical starting window is often around 5% to 8% per side, then tuned from actual burr trend, cut-face appearance, and load behavior rather than held as a fixed rule.
The word that matters is uneven. A die can have an average clearance that looks acceptable on paper and still wear badly because local alignment is off. Guide wear, side load, poor strip guidance, or uneven sharpening will move one station away from the rest. Then one feature starts making trouble first. That is normal. It is also the clue.
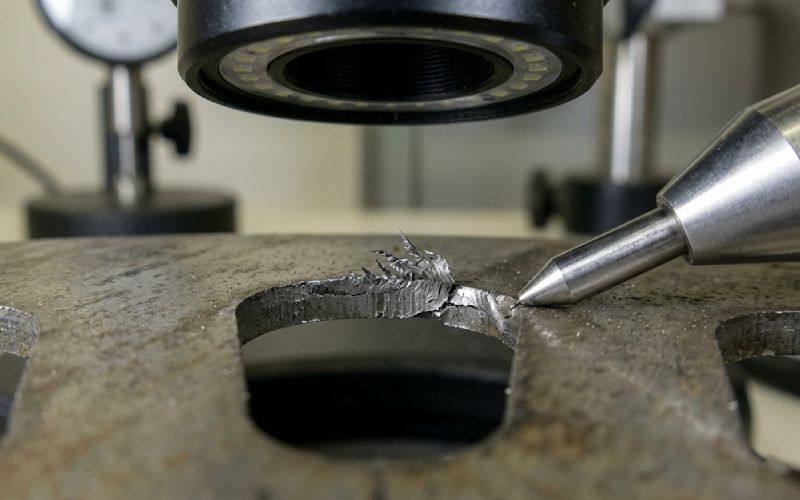
Electrical steel is thin, but that does not make it easy on the edge. Repeated contact at high stroke rates builds abrasive wear, then fatigue damage near the cutting edge, then small chips if the condition is left alone. Studies on stamping-tool wear show that tool material, coating system, and clearance all affect how fast burr grows and how the cutting force changes with use. Harder is not always enough by itself; edge condition and process match matter just as much.
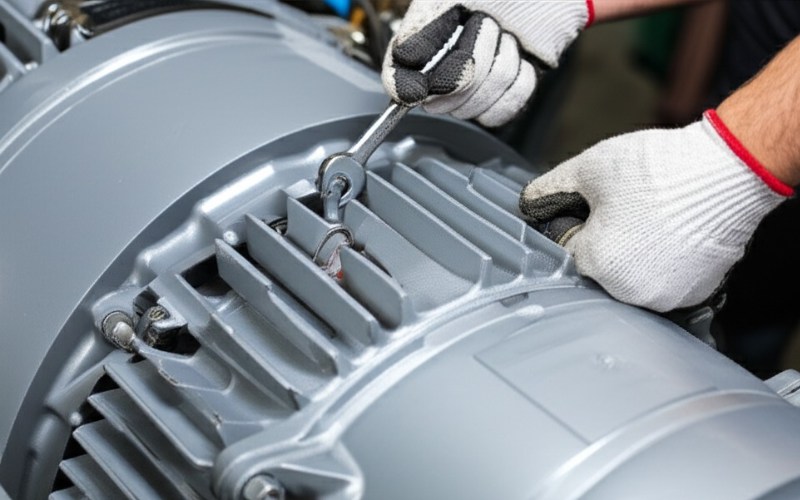
A clean die on the bench can behave differently in the press. Slide repeatability, ram tilt, guide wear, stripper contact, and off-center loading all change how the punch enters the die opening. When that happens, wear stops being symmetric. One side of the edge goes away faster. One station starts throwing a taller burr. Press-tonnage monitoring work has shown that worn blanking stations leave visible signatures in the load trace before the line reaches a hard failure. That makes force trend a useful early warning, not just a machine-health metric.
Some wear problems are really scrap-path problems in disguise. If scrap does not clear cleanly, the tool ends up hitting what it already cut. That can nick an edge very quickly. In lamination dies, where features are small and stroke rates are often high, even light scrap interference can turn a stable process into a burr generator in a short run. This is one reason a die may appear fine after sharpening and still lose life early. The edge was not the first problem.
A worn lamination die should be sharpened before the burr curve turns steep. Not after. Grinding heat matters too. If sharpening overheats the edge, changes local hardness, or leaves related stations out of sync, the tool may come back to the press already compromised. Sharpening is maintenance, yes. It can also be the start of the next wear cycle if geometry recovery is sloppy.
The first signal is usually not a broken punch. It is drift.
Burr height goes up at one feature. Press load rises slowly. The burnish zone changes. A cut edge starts looking rough instead of clean. Stacks stop nesting as easily. Interlock feel changes before dimensions go fully out.
That pattern lines up with both shop practice and condition-monitoring studies: wear shows itself as a trend before it shows itself as an event.
There is also a useful reality check on burr limits. General stamping guidance has long used a loose rule that acceptable burr may be around 10% of sheet thickness, but lamination work is usually far tighter than that. In electrical-steel processing guidance, 0.03 mm is used as a maximum burr limit in some stack-related applications, and supplier punchability data often track the number of hits needed until burr reaches 50 μm. That tells you two things at once: first, lamination burr limits are often much tighter than generic stamping limits; second, burr growth should be treated as a wear curve, not a yes-or-no defect.
A workable system does not need to be fancy. It needs to be consistent.
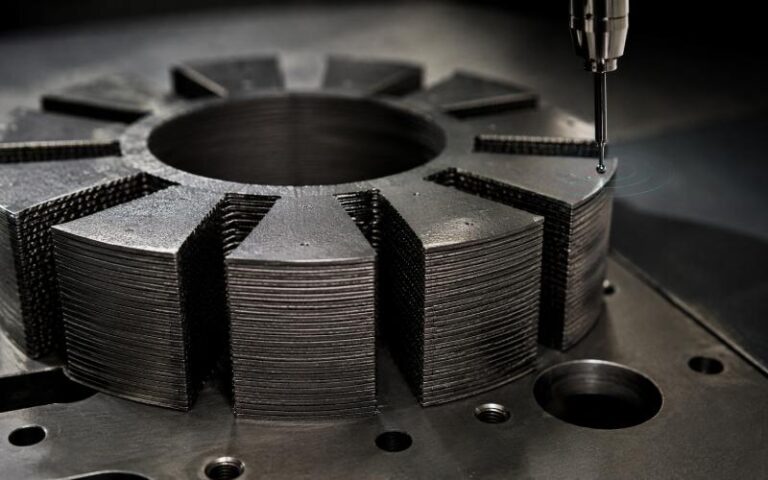
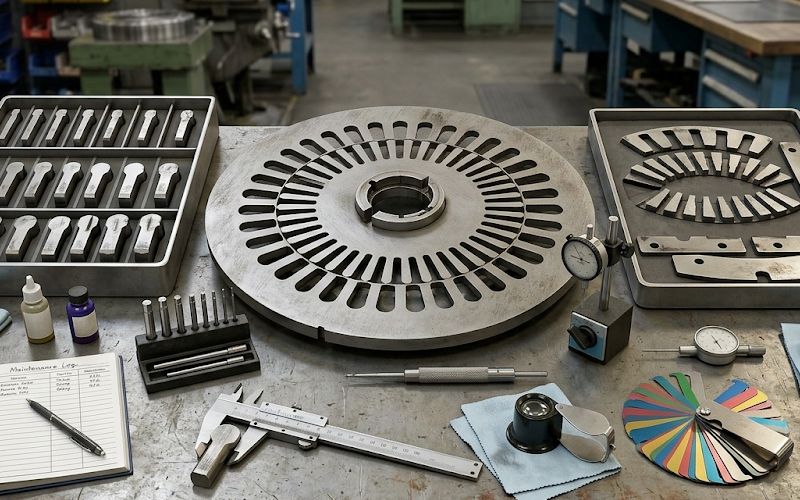
Start with a fresh-tool baseline and record:
Then keep the same locations and compare like with like. For lamination parts, good check points are usually tooth tips, slot flanks, bore edges, bridges, and interlock features. The average burr of the whole part is often too blunt to be useful. One bad feature can make the stack fail while the overall average still looks harmless.
| Symptom on the line | Most likely cause | Check first | Usual action |
|---|---|---|---|
| Burr rises on one slot or one bridge only | Local edge wear, guide drift, or scrap interference | That station’s punch edge, die opening, guides, and scrap path | Correct local cause first; do not sharpen the whole die blindly |
| Burr rises around most of the profile | Global edge dulling or clearance drift across related stations | Tonnage trend, cut-face ratio, sharpening history | Schedule controlled regrind and verify related stations together |
| Press load creeps up while parts still pass dimensional checks | Edge dulling, friction increase, or clearance too tight | Compare with fresh-tool baseline | Service before burr growth turns steep |
| Stacks start hanging up even though burr looks “not terrible” | Local rollover, edge drag, or insulation damage at sensitive features | Slot walls, interlocks, stacking orientation, local edge finish | Recheck process at the feature level, not just part OD/ID |
| Tool life drops after sharpening | Heat damage, edge mismatch, or incomplete geometry recovery | Regrind method, coolant use, synchrony across stations | Fix sharpening process before adjusting production settings |
The point of the table is simple: match the symptom to the first check. Too many teams start with the grinder because the grinder is available. That is not the same as starting at the cause.
Hit count still matters. It is easy to schedule. It is also incomplete. Material lot, coating condition, strip flatness, press behavior, and feature geometry all change how a die wears. A better method is to use hit count as one input, then tie it to burr trend and tonnage drift. If all three move together, service the die. If hit count says service but the edge is stable and load is flat, the schedule may be too conservative.
This matters more in lamination stamping than in ordinary blanking. Once burr height starts climbing fast, you are not only wearing the edge; you may also be pushing defects into coating damage and stack conductivity risk. The best sharpening point is usually earlier than the point where the operator first complains.
If a lamination die uses multiple stations to create the final geometry, sharpening only the worst-looking punch can create a mismatch. Related edges need to come back in step. Otherwise the die returns with mixed edge conditions and the wear pattern becomes harder to read, not easier.
This point gets missed. Burr inspection on single sheets is necessary, but it is not enough. Stack pressure, burr direction, insulation condition, joining method, and interlaminar contact all change how much real trouble a burr causes in the finished stack. A lamination process should feed downstream stack behavior back into tooling decisions. If stack fit, electrical test, or local heating starts drifting, the die should be part of the investigation early.
A sensible starting window is often 5% to 8% per side, then adjusted from actual burr height, cut-edge condition, and press-load trend. Do not apply a flat 10% rule without checking what the edge is doing. Thin electrical steel usually needs a tighter process window than general sheet-metal punching.
For lamination work, the answer is usually stricter than in generic stamping. A loose general rule may allow burr around 10% of thickness, but lamination-focused processing guidance can set the limit at 0.03 mm, and punchability testing often uses 50 μm as a wear benchmark. For thin gauges and sensitive stacks, the practical stop point may be lower than the old general rule by a wide margin.
No. Stroke count is useful, but not enough by itself. A better trigger uses stroke count + burr trend + tonnage drift. That combination catches both normal edge dulling and abnormal wear driven by misalignment or scrap trouble.
Because wear is often local first. Small features, bridges, internal slots, and interlock-related areas are more sensitive to local clearance error, guide wear, and scrap interference. One feature going bad early is often the most useful clue you get.
No. Force monitoring is good for early warning. Burr inspection is good for confirming what the edge is actually doing. The two belong together. One tells you that something changed; the other tells you whether the change is acceptable for the lamination stack you are making.
The practical rule is not “run the die until it looks bad.” That rule is too late for laminations.
A better rule is this: watch the features that fail first, trend the load, sharpen early, and judge the die by what it does to the stack, not only by what it does to a single sheet.